Sourdough Bread Baking
Since not much has happened on the farm this week (not good stuff anyway…), I decided to concede to a frequent request and give a tutorial for sourdough bread. It has been a busy week. We have had power outages, internet outages and a dead calf. There is always something new to be thankful for though and I am happy to say that our hens have finally started laying. I would have taken a picture, but we have been eating the eggs as quick as they come. For those of you anxiously awaiting farm fresh eggs, you will be happy to hear that we should be able to have enough to start selling at the end of the month.
Although all my kids cannot tolerate gluten, I still make bread for Mike and I. The reason that I make sourdough bread is that it seems to be easier to digest for me. The long soaking and rising times are supposed to make the grain easier to digest and I don’t have to add any yeast. Sourdough bread is not something that you can start and finish in a couple of hours. It takes me a full 24 hours to finish a batch. It sounds daunting, but it is actually more forgiving than a yeast bread because if I am 2 hours late shaping the loaves because I forgot and went to AWANA, the bread is still great and not over-risen. I am not going to explain how to make a starter. There are numerous tutorials on how to start your own. I recommend this one. The only difference with mine is that I used spelt flour instead of wheat. An even easier way to get a starter is to get it from someone who already has some in their fridge (like me!)
 Spelt & Wheat Sourdough Bread
Makes 2 loaves (I usually double the recipe)
Ingredients
Night before:
- Starter
- Spelt flour
- Warm filtered water
Morning:
- 2 1/2 cups whole wheat flour
- 2 cups warm filtered water
Afternoon:
- 3-4 cups whole wheat or unbleached flour
- 1 tbs honey
- 1 tsp salt
- 3 tbs olive oil
Notes: When making sourdough you have to remember a few things. Do not use a metal bowl or utensils for the first 2 steps. If you are on town water, always use filtered water so that the chlorine doesn’t kill your yeast. Make sure you store your starter in a glass or plastic container in the fridge with some air holes in the lid.
- You have to get your starter active the night before you want to make your bread. Take it out of the fridge, stir, measure and pour into a non-metal bowl. Add an equal amount of warm filtered water and spelt flour (ratio is 1:1:1 of starter:water:flour). Stir well, cover with a clean towel and leave it on the counter overnight.

Starter with water & spelt flour - The next morning, you starter should be all bubbly and smell sour or yeasty. Measure out 1 cup of starter and put the rest back into a jar in the fridge for next time.

Bubbly starter - Combine the 1 cup starter, 2 1/2 cups flour and 2 cups warm water in a non metal bowl. Cover loosely with plastic wrap and set in a warm place for 8 hours. This is called the sponge. I have a spot near the chimney that stays the perfect temperature in the winter. I just leave it on the counter in the summer.

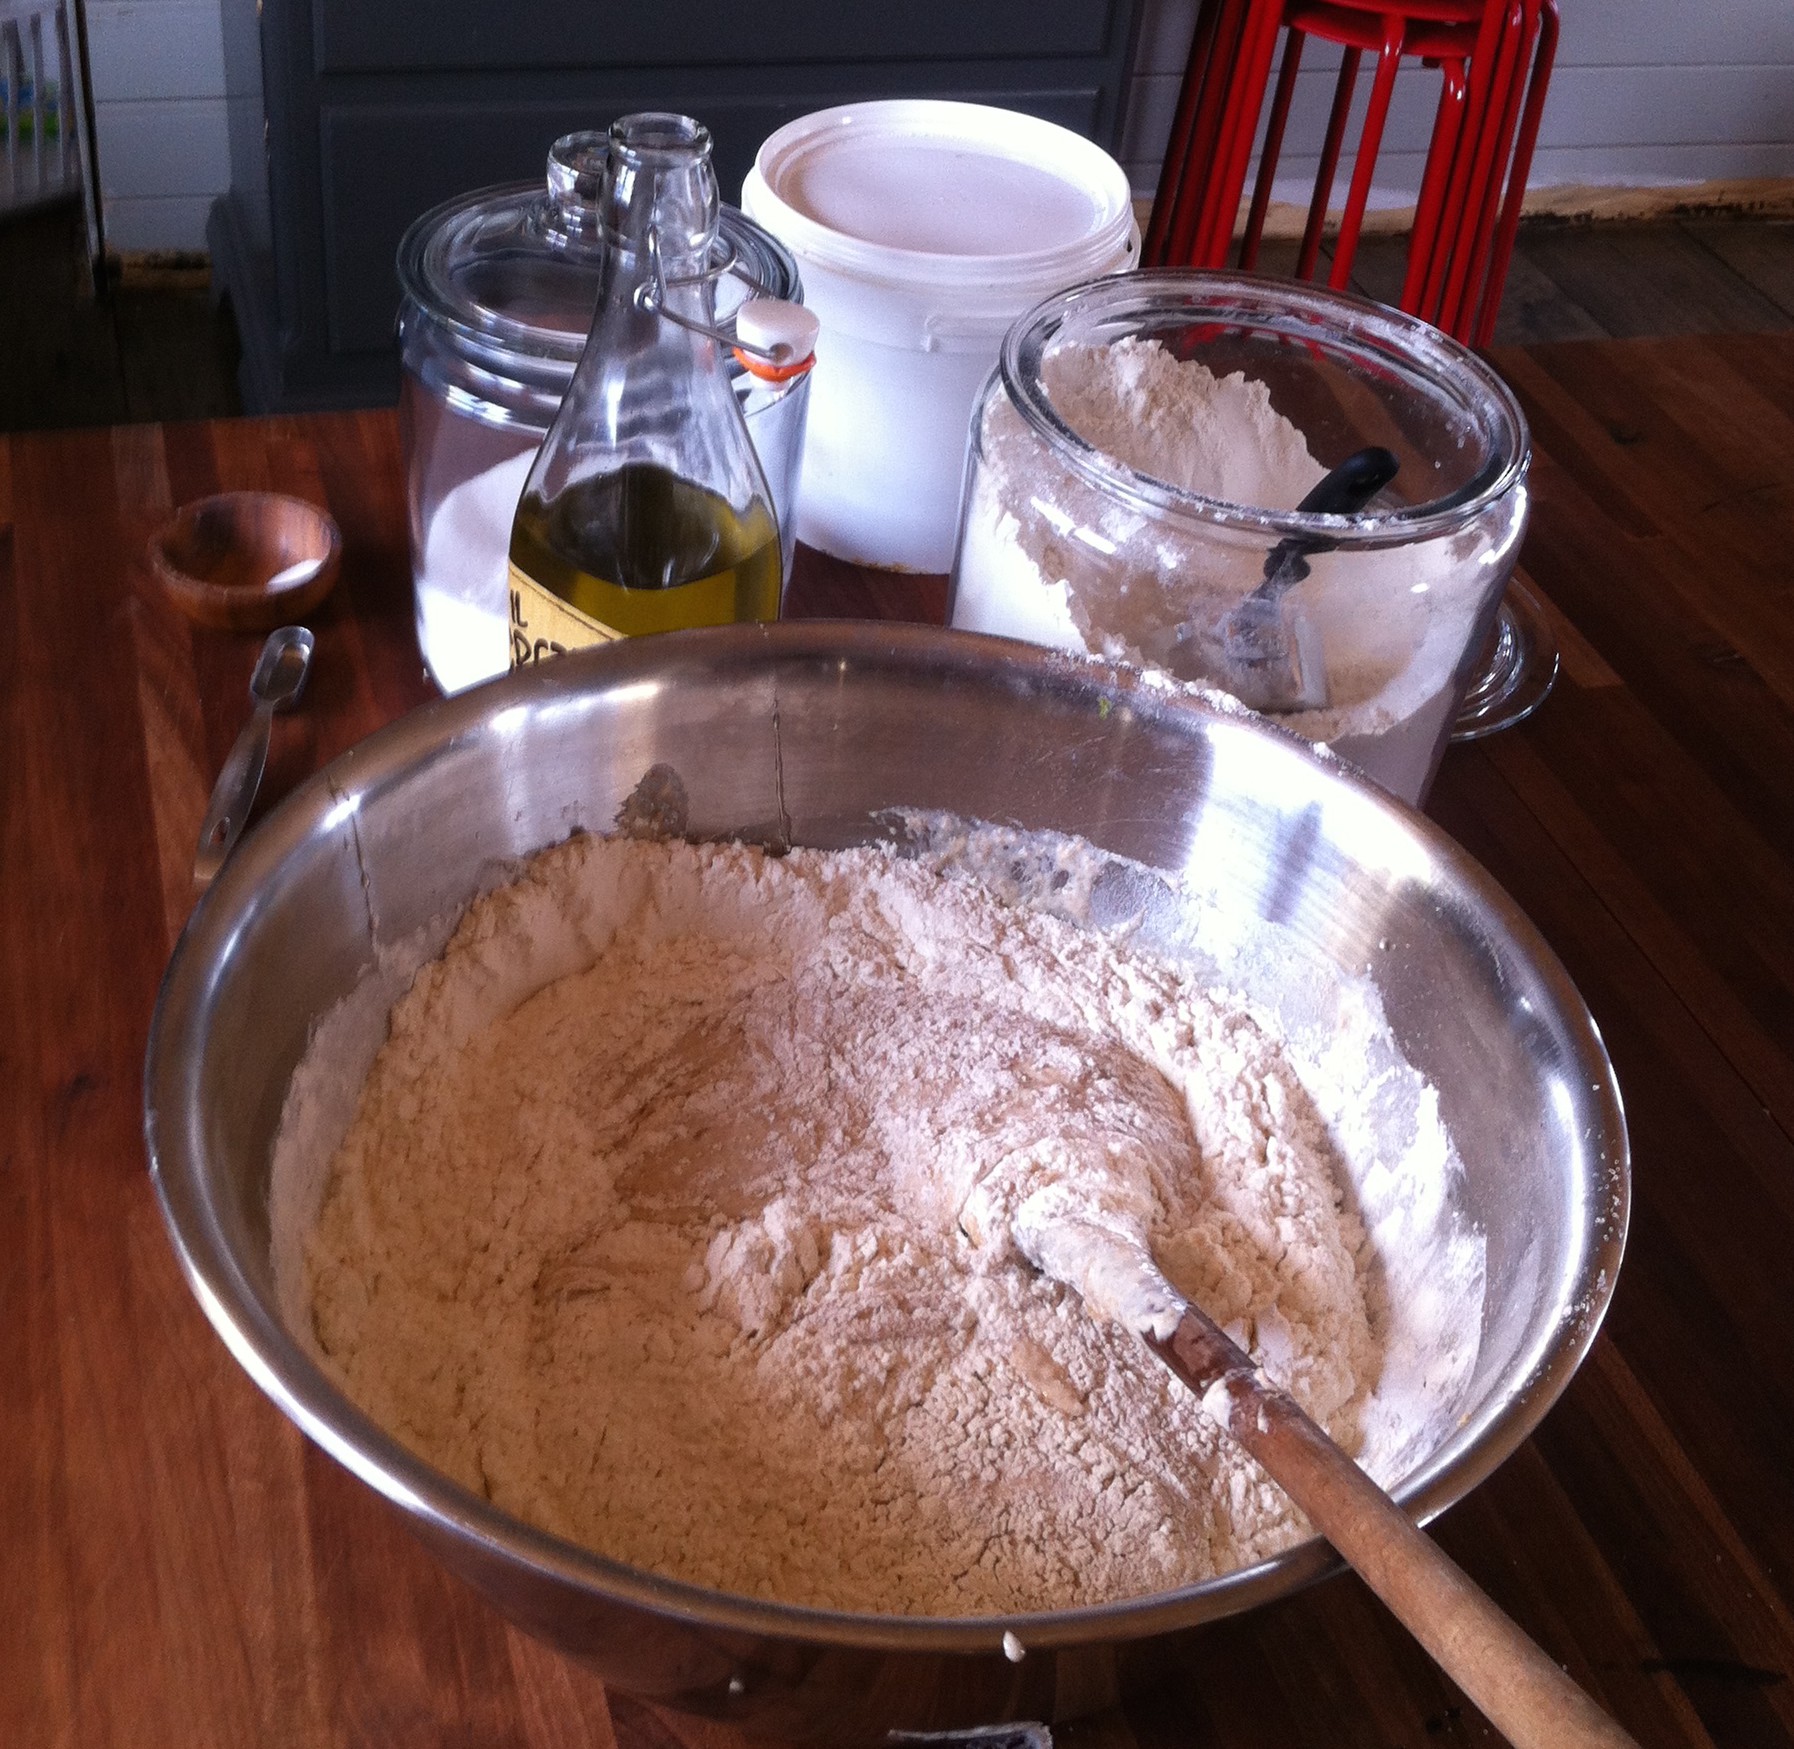
Gathering the ingredients. 
The bubbly sponge. - After 8 hours the sponge will have risen and be very bubbly and sticky. Add honey, salt and oil to sponge. Mix in 2 cups flour. Keep adding flour until the dough is firm enough to handle.

Mixing in the flour. - Knead the dough on a floured surface until it is smooth and springy, about 10 minutes. Add flour if needed, but don’t add too much at a time or your bread will be dry and crumbly.

Kneaded dough. - Let your bread rise, either on the counter or in a greased bowl for about 2 hours.

Rising on the counter. - Grease 2 cookie sheets. Gently deflate dough by pushing your fist into it. Divide the dough in half and shape it into loaves. At this point I usually slash the top of the loaves with a sharp knife. In the pictures, I slashed the loaves after they had risen because I was trying to see if that would help stop my loaves from cracking. (Cracking is a big issue with spelt bread). It didn’t work. : ) Cover and let rise for another hour or so.
- Preheat oven to 350 degrees or 325 degrees when using convection. Sometime I put a pan of water in the bottom to get the loaves crusty. Bake for 45 -55 minutes until loaves sound hollow when tapped.

The completed loaves.


